
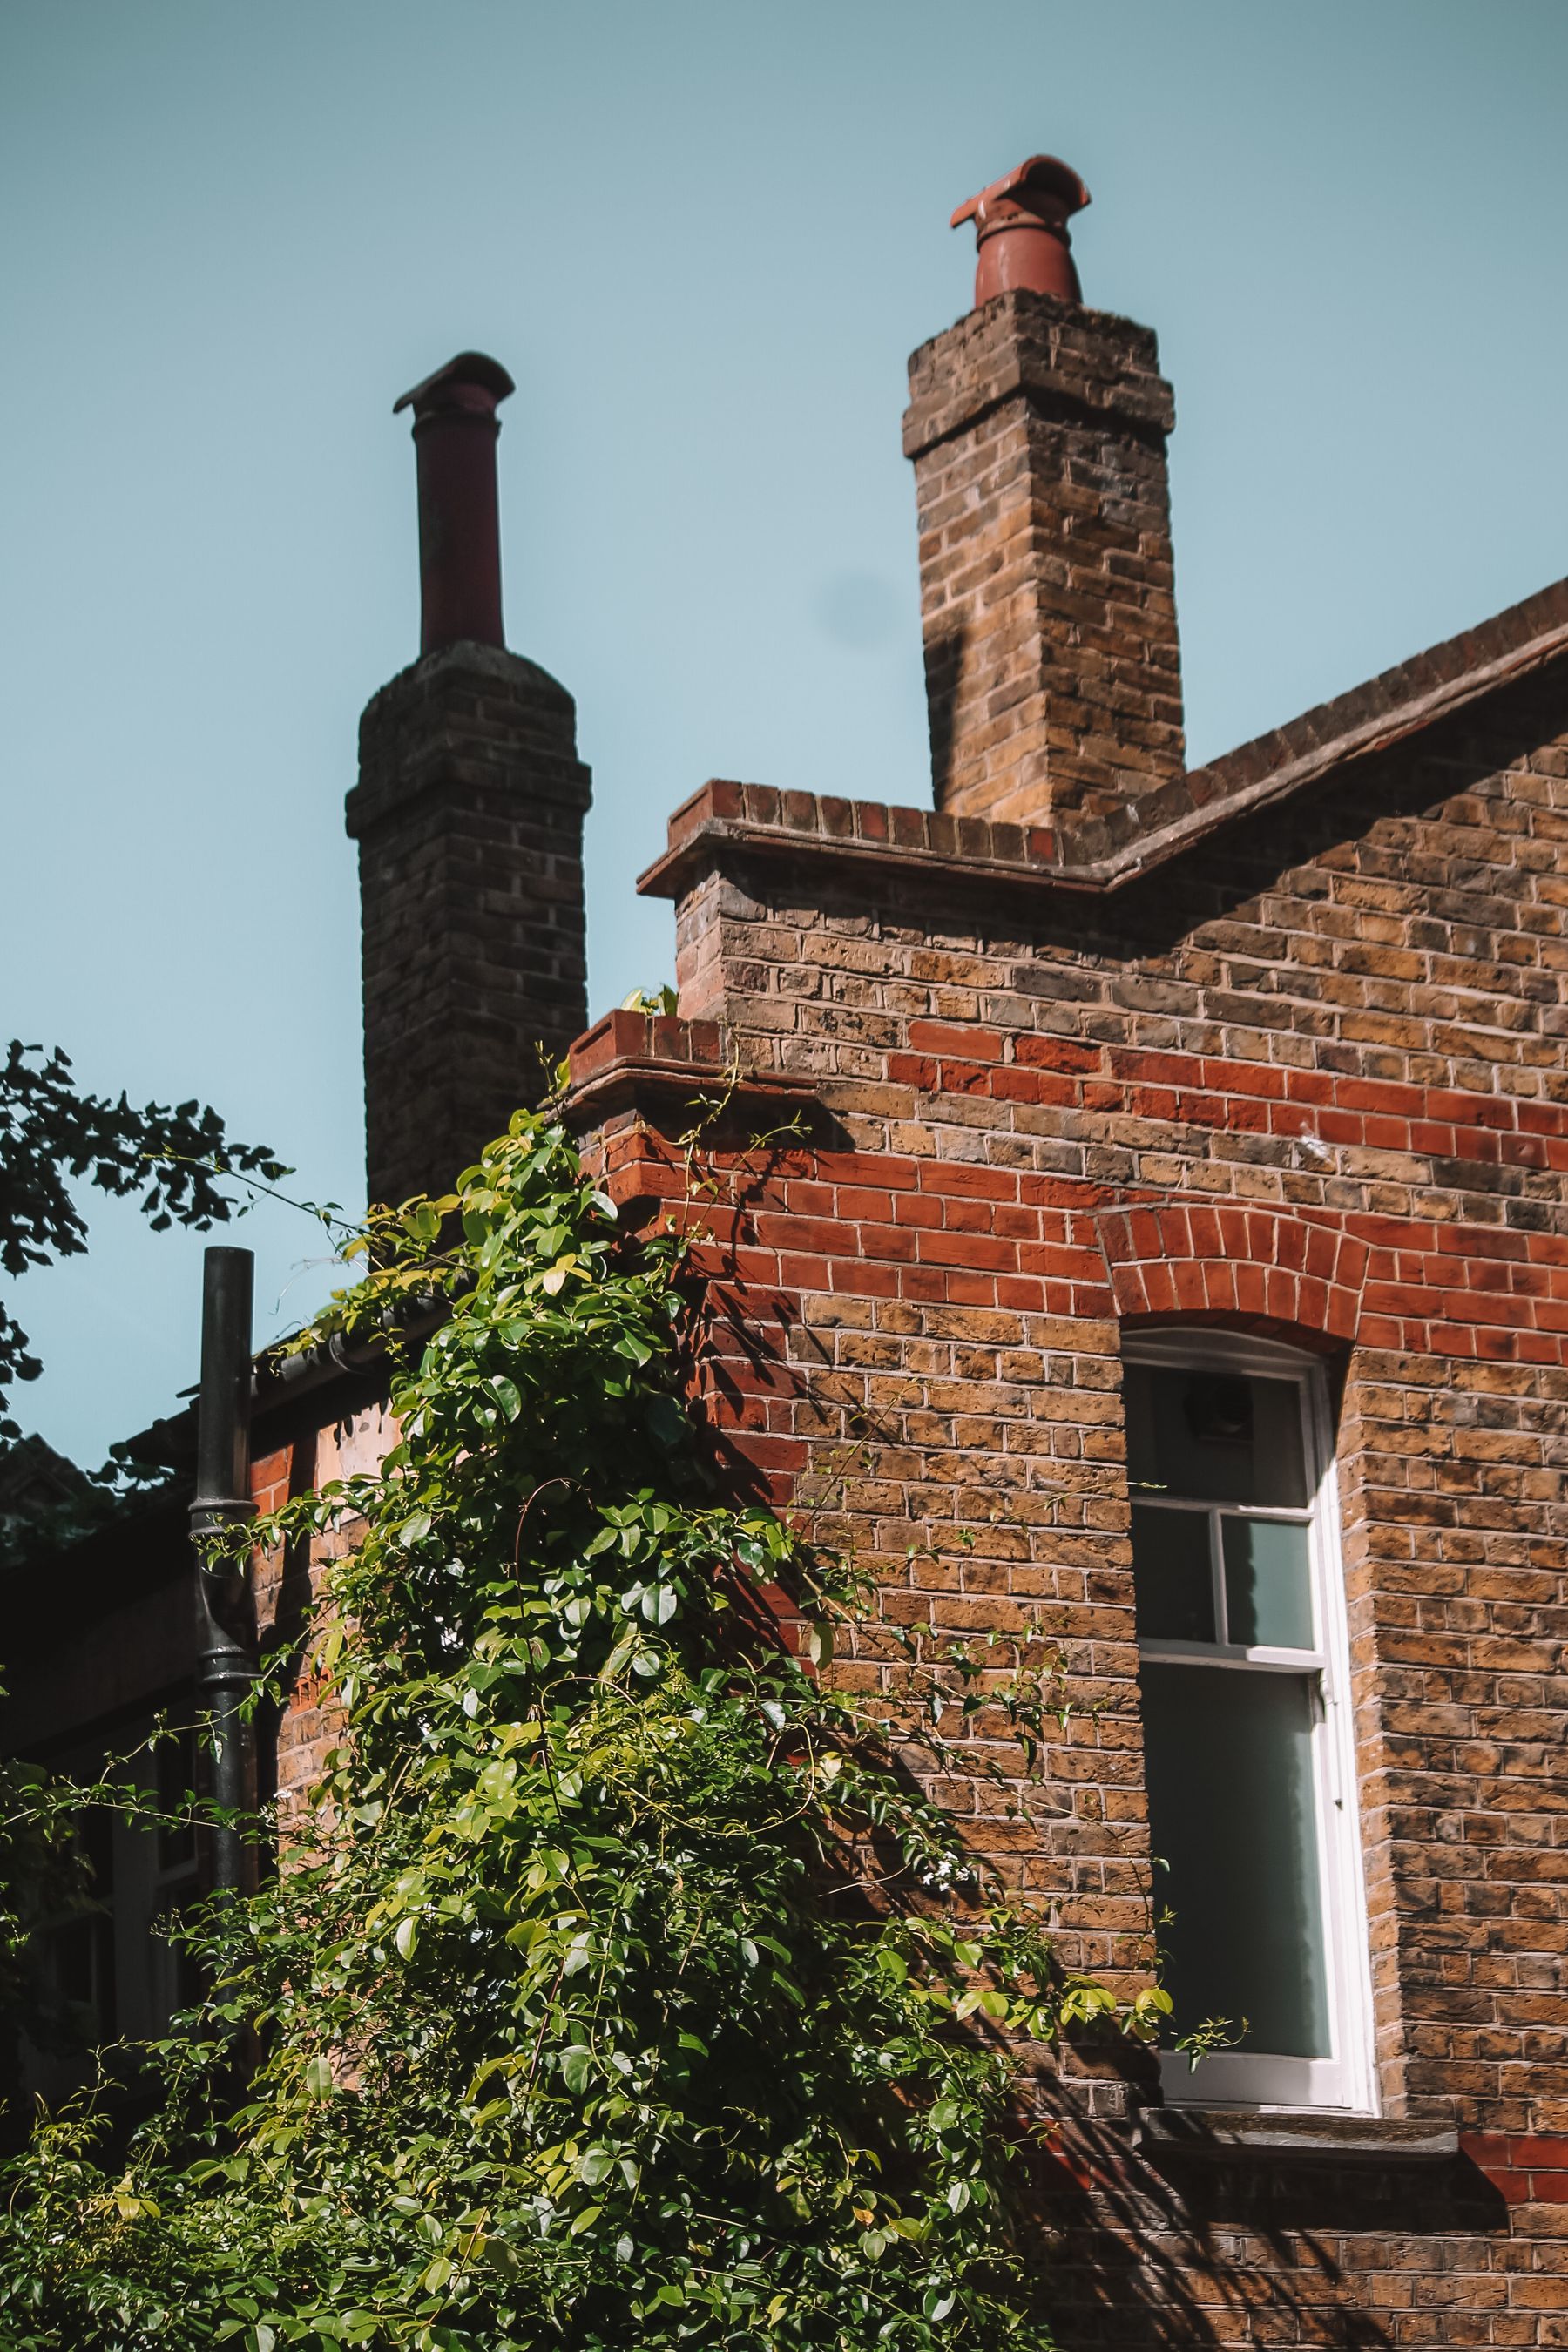
Historic chimney restoration is the repair, stabilization, and selective rebuilding of an older chimney while retaining as much sound historic masonry and character as practical. A complete scope can involve brick or stone repair, compatible mortar repointing, roof flashing, the chimney crown or wash, rain protection, flue liners, and structural stabilization. The right repair starts by identifying which part of the system is actually failing.
Why historic chimneys fail
A chimney is unusually exposed. It rises above the roof, takes direct rain and wind, experiences repeated wetting and drying, and may also be subjected to heat, combustion products, freeze-thaw cycling, and movement between the chimney and roof. Deterioration can therefore appear in several places at once.
Open mortar joints, spalled brick, loose top courses, staining, efflorescence, cracked crowns, failed flashing, damaged flue tile, and leaning masonry can look like one problem from the ground. They aren't interchangeable symptoms. National Park Service guidance on historic masonry stresses that the source of deterioration should be corrected before repointing, and its maintenance guidance specifically calls out chimneys, caps, and roof flashing as moisture-control concerns.
A historic building conditions assessment can identify the chimney as part of a broader roof or envelope problem before a specialty repair package is written.
1. Start with the whole chimney, not just the mortar joints
Assessment should document the chimney from the roofline to the top and, where access permits, through the attic and interior. The team should look at masonry units, mortar joints, flashing, counterflashing, crowns or washes, caps, flue liners, previous patches, roof framing around the chimney, and any separation or movement where the stack passes through the building.
For an active fireplace or appliance, exterior masonry condition alone doesn't establish that the chimney is safe to use. Interior flue condition, sizing, clearances, connections, and the venting requirements of the connected appliance can require inspection by a qualified chimney professional. NFPA 211 calls for a Level II inspection when service conditions change, before relining, upon sale or transfer of the property, and after a building or chimney fire, weather or seismic event, operational malfunction, or other incident likely to have caused damage. A Level II inspection extends beyond a routine visual check to accessible attics, crawl spaces, basements, and internal flue surfaces, with video scanning or other means used as necessary. NFPA 211 is a consensus standard, however, so legal enforceability depends on adoption and the requirements of the authority having jurisdiction, contract, insurer, or other governing document.
Intrusive chimney work also needs a contamination check. Before relining, demolition, cutting, or other work that could disturb suspect legacy materials, the team should evaluate potential asbestos-containing components such as cementitious vent pipe or thermal insulation under applicable OSHA and EPA requirements. Heavy or glazed creosote deposits also need evaluation and removal by a qualified chimney professional before work that could conceal, heat, or disturb them; the appropriate removal method can be mechanical, chemical, or a combination depending on the deposit and system.
If the chimney is no longer active, it still needs a water-management strategy. Simply sealing every opening can create new moisture problems. NPS moisture guidance recommends ventilated chimney caps for unused chimneys that collect rainwater, but the correct detail depends on the building and whether the flue, fireplace, or chimney is intended to remain functional.
2. Masonry and mortar have to work together
Historic chimney repair often includes repointing, but repointing is not a cosmetic reset. The replacement mortar should be physically compatible with the historic brick or stone and with surviving mortar. NPS guidance emphasizes that the new mortar should not be excessively strong or vapor impermeable, because a hard, dense joint can shift moisture and stress into softer historic masonry.
That is especially important at a chimney, where wetting is frequent and drying is critical. A modern high-strength Portland cement mortar is not automatically appropriate just because it is durable in new construction. The mix should be selected from the actual masonry, exposure, historic mortar, joint profile, and performance requirements. Color and tooling matter, but they come after physical compatibility.
Clear masonry water repellents are not a substitute for fixing the source of water entry. NPS guidance says most well-maintained historic masonry does not need a water-repellent coating. Film-forming waterproof coatings can trap moisture, while modern penetrating silane or siloxane products are generally more vapor permeable but still reduce drying potential. On soft historic chimney brick, any water-repellent treatment should follow diagnosis, material-specific testing, and correction of flashing, crown, joint, or roof defects rather than being applied as a routine spray-on fix.
For a deeper explanation of mortar behavior and repair selection, see Preserve Signal's historic masonry restoration guide and historic brick restoration guide.
Loose, fractured, or severely deteriorated units may require selective replacement or localized rebuilding. Where rebuilding is necessary, the goal is usually to retain sound masonry, preserve the chimney's dimensions and bond pattern, and match replacement units closely enough that the repaired feature continues to read as part of the historic roofscape. NPS rehabilitation guidance favors repair of deteriorated historic features and compatible replacement when deterioration makes repair impossible.
3. Flashing failures can make sound masonry look like a chimney problem
Water entering where a chimney meets the roof can travel before it becomes visible indoors. A stain beside a chimney may come from open mortar joints, failed flashing, roofing defects, a cracked crown, or more than one source. The leak path has to be traced rather than guessed.
A durable roof-to-chimney detail commonly uses base or step flashing integrated with the roof covering and separate counterflashing embedded into the masonry. On regularly coursed historic brick, stepped counterflashing reglets that follow horizontal mortar joints are generally preferable to a continuous saw cut through brick faces, which can permanently damage the units. Counterflashing may be mechanically secured in the reglet with lead wedges or another appropriate detail and then pointed or sealed as specified. The exact assembly depends on whether the roof is slate, clay tile, metal, shingles, or another system. Surface sealant should not be treated as a substitute for properly detailed metal flashing.
Historic roof work also has to respect the surrounding roofing material. Preserve Signal's guides to historic metal roof restoration and clay tile roof restoration explain why flashing replacement can become a larger roof-access and material-retention problem.
4. Crowns, washes, and caps should shed water without trapping it
The top of the chimney has to move water away from the masonry and flue. Historic chimneys may have a masonry wash, stone cap, terra-cotta pots, projecting courses, or later caps. NPS guidance recommends sloping a masonry cap or wash so water drains away from the flue and cautions against thin mortar washes that crack and admit water. For modern masonry chimney caps, the International Codes require a sloped concrete, metal, or stone cap, a drip edge, and a caulked bond break around flue liners in accordance with ASTM C1283 where those provisions apply.
The crown should project enough to throw runoff clear of the chimney face and should include an effective drip edge; an underside kerf or drip groove is a common way to create that break. Chimney-industry details often use an overhang of roughly 2 inches or more, but that dimension should not be presented as a universal code minimum because adopted codes and approved details vary. Around clay flue liners, a flexible bond break or expansion joint prevents the crown from being cast hard against a component that moves with temperature. A rain cap can help limit direct water entry, but it must be compatible with the flue and continued use and must not obstruct exhaust. Decorative chimney pots, corbelled tops, and distinctive profiles can be character-defining features, so replacing the entire top with a generic concrete slab can solve one problem while creating a preservation problem.
5. Flue liners are a safety and performance issue, not a cosmetic upgrade
A masonry chimney may contain clay flue tile, a metal liner, another listed lining system, or in some older buildings an unlined masonry flue. Whether an existing liner can remain, needs repair, or requires relining depends on its condition, the fuel and appliance, flue dimensions, clearances, local code, and the intended use.
Cracked tile, open liner joints, missing sections, inadequate sizing, or changes from one appliance or fuel type to another can make a liner evaluation necessary. Relining options can include listed metal systems, clay components in some circumstances, or other approved systems. UL 1777 is the U.S. product standard for field-installed chimney liners, but it doesn't mean every metal liner uses the same insulation detail. The liner's listing, the connected appliance, chimney construction, and clearance to combustible framing control whether insulation is required. In older masonry chimneys that lack the clearance assumed by the code or liner listing, a listed insulated liner or a listed insulation system may be necessary to achieve the permitted clearance. The manufacturer's installation instructions and the authority having jurisdiction govern the final assembly.
This is where historic fabric and fire safety have to be coordinated. A chimney professional can evaluate venting and liner condition, while a preservation architect or mason may be needed where installation affects historic masonry, fireplaces, chimney breasts, roof features, or finishes.
6. Structural cracks and leaning need diagnosis before rebuilding
Not every crack means the chimney is structurally unstable, and not every leaning chimney can be corrected by repointing. Movement can involve settlement at the chimney base, deteriorated masonry, loss of connection to the building, roof or framing movement, wind or seismic demand, or localized failure near the top. Crack pattern alone is not enough to establish the cause.
A structural engineer should be considered when the stack is visibly out of plumb, masonry is displaced, cracks are substantial or active, the chimney is separating from the building, bearing conditions are uncertain, or repairs would remove and rebuild a significant portion of the stack. The engineer's role is to determine what is moving and how the chimney is supported, not simply to specify stronger mortar.
Temporary stabilization, scaffold loading, and safe access can also become part of the project before permanent work begins. On a prominent historic building, the repair design may need to preserve corbelling, decorative brickwork, chimney pots, or the original silhouette while introducing concealed stabilization.
Who typically works on historic chimney restoration?
The team depends on the failure. A preservation mason may handle repointing, selective brick or stone replacement, and rebuilding. A roofer or architectural sheet-metal specialist may handle roof flashing. A qualified chimney professional may inspect flues, liners, clearances, and venting. A structural engineer may be needed for movement or stability concerns. A preservation architect can coordinate the work where the chimney is a significant feature, the project is subject to historic review, or several disciplines have to be integrated.
The important point is that “historic chimney repair” is not one trade package in every case. The visible brick stack, hidden flue, roof penetration, and structural support can require different expertise.
What can historic chimney work signal about a larger project?
Chimney work often appears inside a broader roof, masonry, stabilization, or rehabilitation program. Early records can include roof assessments, facade or masonry surveys, structural evaluations, historic tax credit submissions, grant applications, scaffold investigations, flue inspections, or design contracts that mention chimney stabilization.
Those records don't prove that a stand-alone chimney contract is coming. They can, however, show that an owner is defining a real scope and may soon need preservation masonry, roofing, sheet metal, engineering, or specialty chimney work. For firms pursuing historic work, a funded assessment or design assignment is usually a more useful signal than waiting for the final bid notice. Preserve Signal's guide to tracking a preservation project from funding through construction explains how those early records fit into the larger project timeline.
The practical takeaway
Historic chimney restoration works best when the team separates symptoms from causes. Preserve sound historic masonry. Use compatible mortar. Fix the roof-to-chimney flashing as an integrated assembly. Make the top shed water. Treat active flues and liners as fire-safety and venting systems. Bring in structural engineering when movement or stability is uncertain.
A chimney can be a small feature on a large building, but it sits at the intersection of masonry, roofing, moisture, structure, and combustion. That is why successful restoration usually depends less on one “chimney repair product” and more on getting the diagnosis, sequencing, and specialist roles right.