
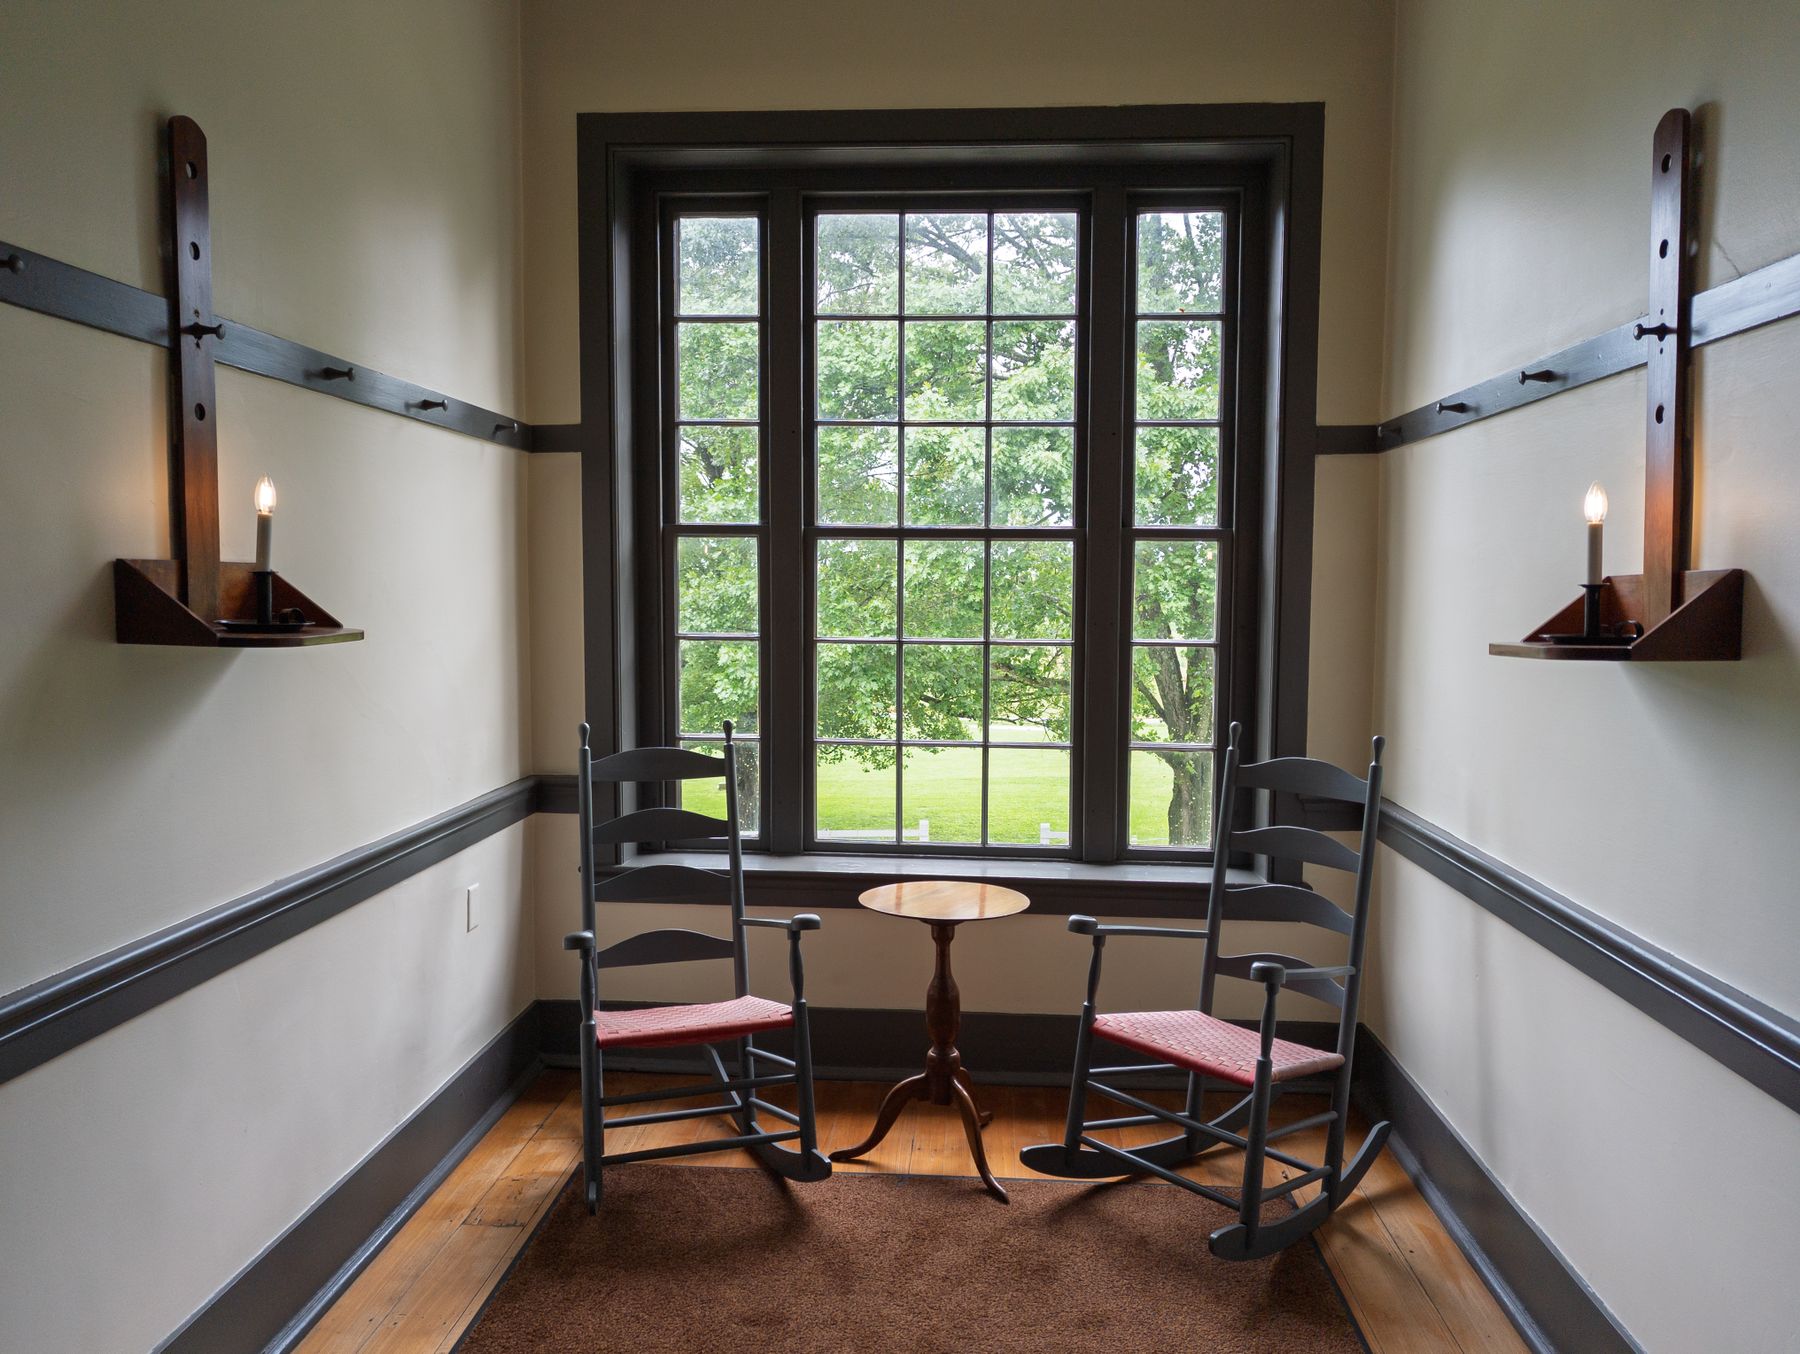
Historic wood floor restoration should begin with a simple question: how much historic material can be kept in service? A worn floor doesn't automatically need to be drum-sanded, stripped to bare wood, or replaced. Often the least destructive treatment is cleaning, localized repair, or renewal of an existing compatible finish.
Wood flooring can be a character-defining feature in its own right or an important part of a significant room, circulation path, industrial space, church, school, theater, apartment, or other historic interior. National Park Service guidance starts with significance and actual physical condition, not a preset refinishing system. Here, restoration is used in the common trade sense. See Preserve Signal's guide to historic rehabilitation, preservation, restoration, and reconstruction for the formal treatment distinction.
Start by identifying what survives
Before sanding, filling gaps, replacing boards, or choosing a finish, document the floor. Record the flooring type; board or parquet dimensions; pattern and orientation; species when it can be identified responsibly; edge and joint configuration; surface texture; coatings; previous patches; fasteners; transitions; and areas of damage or movement.
A historic building conditions assessment can help distinguish floor symptoms from building-level causes. Cupping, staining, loose blocks, decay, finish failure, and open joints may point to plumbing leaks, roof or wall water entry, damp crawlspaces, slab moisture, changed HVAC operation, or earlier repairs rather than a flooring problem alone.
Use the least destructive treatment that will work
Not every worn historic floor needs full sanding. The appropriate sequence usually moves from maintenance to localized repair and only then to more aggressive material removal. If an existing film finish is sound but dull or lightly worn, a professional screen-and-recoat or comparable abrasion-and-recoat process may renew the protective layer without cutting the floor back to bare wood. The existing coating still has to be clean, sound, and compatible with the new system.
If the floor has a traditional waxed, oiled, or other non-film finish, cleaning and renewal should follow a method appropriate to that identified finish. A maintenance treatment shouldn't be converted casually into a polyurethane system. Localized scratches, damaged boards, loose parquet, stains, or isolated wear can often be addressed with targeted repair rather than broad sanding.
Full sanding may be justified where the coating is failing extensively, the surface is uneven enough to prevent a durable repair, or prior finishes must be removed for a compatible new system, but the amount of wood removed should be limited. For tongue-and-groove flooring, remaining wood above the tongue and the location of fasteners matter. Repeated sanding can leave the upper groove edge thin enough to splinter or expose fasteners.
Finish compatibility matters as much as sheen
Historic floors can carry layers of shellac, varnish, wax, penetrating oil, later urethane coatings, maintenance polishes, cleaners, and contaminants. Those layers aren't automatically compatible. Applying a modern film-forming finish over residual wax, oil, silicone-containing products, or another incompatible coating can lead to poor adhesion, cratering, fisheyes, or delamination.
Specifications should require identification of the existing finish as far as practicable, cleaning and preparation compatible with both the substrate and proposed coating, and an adhesion test or mockup before broad application. The final finish should fit the significance, appearance, service requirements, maintainability, and preservation review for the space. There isn't one universally correct historic floor finish.
Treat gaps as a movement problem, not just a cosmetic defect
Solid wood moves across the grain as moisture conditions change. Small joints that open during a dry season and tighten again in humid weather can be normal. Packing those joints with a rigid filler can transfer stress to board edges, crack the filler, or push it out when the floor expands.
Before filling gaps, determine whether they are seasonal, permanent, localized, or the result of structural movement, shrinkage, altered humidity, or earlier board replacement. Where a wide permanent gap truly needs treatment, a tapered sliver of compatible wood can be appropriate. The sliver is commonly bonded to only one board edge so adjoining boards aren't glued into a rigid unit. The correct method depends on gap width, floor construction, significance, expected movement, and required appearance.
Investigate moisture below the floor, not only in the boards
A handheld wood-moisture reading is useful, but it isn't a complete moisture investigation. Floors over damp basements, crawlspaces, ground-contact masonry, or concrete slabs can be affected by moisture moving from below. Look at drainage, leaks, crawlspace or basement humidity, soil moisture, ventilation or conditioning strategy, subfloor and framing moisture, and the floor assembly itself.
For wood flooring over concrete, recognized slab-moisture testing can include in-situ relative-humidity testing and other standardized tests used by the flooring industry. Moisture vapor emission testing applies to concrete slabs, not as a generic measurement for a crawlspace. Impermeable coatings, membranes, or underlayments also need building-specific analysis because a low-permeance layer can relocate or trap moisture and hide deterioration.
Check for hazardous materials before creating dust
Historic flooring work can disturb more than wood. Painted floors, coatings, underlayments, resilient flooring, backing, adhesives, and mastics may contain regulated hazardous materials. Testing and work practices should be planned before sanding, grinding, scraping, or demolition begins. Sanding painted historic floors can create hazardous lead dust, and older resilient flooring assemblies may contain asbestos-containing flooring, backing, or mastic.
The right sequence is identification first, then a compliant work plan, not sand first and test later. Applicable requirements depend on the material, building, scope, employer, occupancy, and jurisdiction.
Repair boards before assuming replacement is necessary
Individual boards may need replacement where decay, breakage, excessive prior sanding, lost tongues or grooves, incompatible alterations, or other damage prevents a durable repair. Replacement should be targeted and documented rather than used as the default response to wear. Matching characteristics can include board width and length, thickness, species or visual appearance, grain, pattern, orientation, edge profile, surface texture, color, and finish.
Sometimes an entire floor needs replacement, but old isn't the same as beyond repair. The decision should consider the flooring's importance to historic character, its physical condition, whether it can reasonably be repaired, the distribution of deterioration, and structural, code, economic, or technical feasibility. Photographs, floor plans, condition mapping, repair quantities, selective probes, and mockups can show why the proposed treatment is proportionate.
Substitute flooring needs a defensible reason
Engineered wood and some wood-look substitutes may be acceptable in certain rehabilitation projects, but not as an automatic replacement for surviving historic wood. The more significant, distinctive, and intact the floor and space, the more important it is for replacement material to closely match historic flooring. Greater flexibility may exist where flooring is missing, in secondary spaces, or where technical conditions justify a different solution.
Specifications should define the decision points
- Room-by-room documentation of existing conditions and limits of work.
- A treatment hierarchy covering cleaning, maintenance recoating, localized repair, selective sanding, patching, and replacement.
- Limits on sanding depth and inspection of tongue-and-groove thickness and fastener locations before machine sanding.
- Legacy-finish identification, compatible preparation, and adhesion-test or mockup requirements before recoating.
- Gap-repair criteria that distinguish seasonal movement from permanent gaps.
- Moisture investigation appropriate to the actual assembly and hazardous-material requirements before dust-generating operations.
- Repair, salvage, and replacement criteria, including board dimensions, pattern, edge profile, and matching requirements.
Why flooring work can be an early project signal
Wood-floor investigations often appear before a larger rehabilitation reaches construction. A condition assessment may identify widespread deterioration. A grant may fund interior repair. Tax-credit documentation may establish which floors will be retained or replaced. Design drawings may show patching limits, finish schedules, accessibility transitions, or new flooring where historic material is missing.
Those records can matter because flooring frequently connects to structure, moisture remediation, plaster and millwork, hazardous-material abatement, accessibility, mechanical work, and larger adaptive-reuse scopes. A flooring survey alone doesn't prove that construction is funded or imminent, but it becomes a stronger signal when paired with owner approvals, design progress, grant awards, tax-credit review, permits, procurement, or an executed contract. See how to find historic preservation projects before formal procurement for the broader framework.
The practical takeaway
Historic wood floor restoration works best when the floor is treated as historic fabric, not simply as a finish layer. Document what survives. Diagnose moisture and movement. Identify legacy finishes and hazardous materials before disturbing them. Use maintenance or localized repair when that will work. Sand only as much as necessary. Fill gaps only after understanding why they exist. Replace material selectively and justify broader replacement from actual condition.